Fortnite Best High Ground Retakes
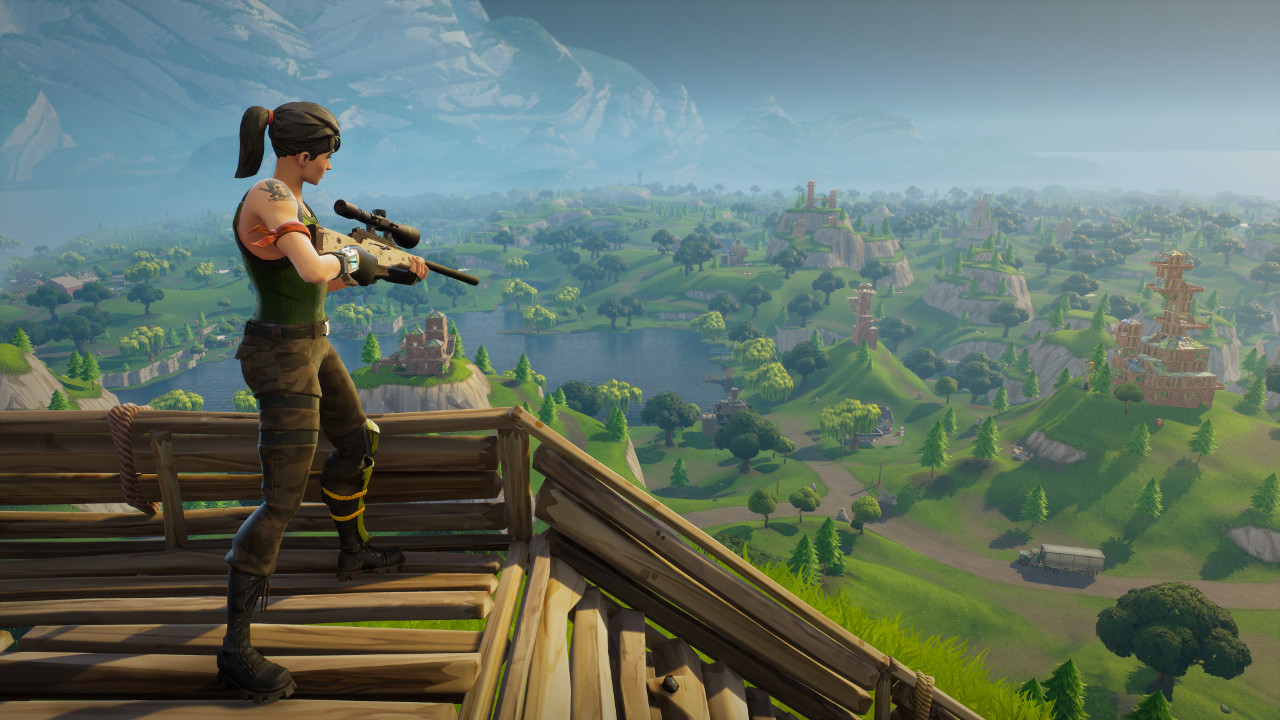
High ground is the ultimate prize in Fortnite’s build battles. Whether you're defending a build in Mega City or pushing an opponent in Tilted Towers, knowing how to reclaim the high ground efficiently can mean the difference between a Victory Royale and an early trip back to the lobby. This guide breaks down the most effective and reliable high-ground retake techniques, focusing on speed, resource efficiency, and adaptability to keep you above the competition.
Understanding the Fundamentals of High Ground Control
Before diving into specific retakes, it's crucial to understand why high ground is so powerful. It grants superior positioning, forces your opponent into predictable movement, and gives you the ability to dictate the terms of the fight. A successful retake isn't just about building higher; it's about doing so in a way that protects you and creates immediate pressure.
The Core Principles
Every high-ground retake should adhere to these principles:
- Cover First: Always place builds between you and your opponent's line of sight before exposing yourself for the next move.
- Edit with Purpose: A quick, clean edit to create a window or cone can secure an elimination, while a sloppy edit gets you eliminated.
- Resource Awareness: Know your material count. A complex retake using 200 wood is a waste if a simpler 50-material retake achieves the same goal.
- Predict the Counter: Assume your opponent will try to shoot you down or counter-build. Your retake should be resilient to common counters like pickaxing supports.
When to Retake vs. When to Reset
Not every situation calls for a complex retake. If you're low on health or materials, it's often smarter to drop down, break the build, and reset the fight. Use complex retakes when you have a resource advantage, you're in a favorable circle, or you need to immediately pressure a low-health opponent.
Essential Defensive High-Ground Retakes
These techniques are best used when an opponent has taken the high ground from you and is actively pressuring you. They prioritize safety and re-establishing control.
The Cone Over Wall Reclaim
This is the fastest and most resource-efficient defensive retake. It's perfect for when an opponent is directly above you.
- Place a wall in front of you.
- Immediately place a cone on top of that wall.
- Jump and place a floor piece beneath you.
- Continue this pattern upwards: Wall, Cone, Jump, Floor. Pro Tip: This creates a sturdy 1x1 tower that's difficult to break down quickly. Use the cone as your immediate cover as you build upward.
The Protected Side Jump
When you need to move laterally while retaking, the side jump is invaluable.
- Build two walls forming a corner.
- Place a floor and cone to create a protected platform on the side you intend to move.
- Edit the wall on that side into a doorway, but don't walk through yet.
- Jump, place a floor, then a wall to create your new 1x1 box. Quickly edit through and continue the pattern. Key Data: This technique uses 6 materials per jump (Wall, Floor, Cone, Edit Wall, New Floor, New Wall). Master the editing speed to minimize exposure.
Mobility-Based High-Ground Retakes
These retakes leverage Fortnite’s map mobility and items to gain height quickly and often catch opponents off-guard.
Kinetic Blade or Grapple Blade Lunge
Items like the Kinetic Blade or Grapple Blade offer unparalleled mobility for retakes.
- Technique: Instead of building straight up, use the blade's lunge ability to launch yourself at a steep angle. As you reach the peak of the lunge, quickly place walls, a floor, and a cone to create a new base mid-air.
- Best Use Case: Perfect for aggressive pushes or when an opponent is overbuilding. It closes distance vertically faster than any traditional build sequence. Remember, the Kinetic Blade's charged attack covers more distance.
Shockwave or Rift-to-Go Escape and Rebuild
Sometimes the best retake is a full reset. Using a Shockwave Grenade or Rift-to-Go can completely disengage, giving you time to heal and plan a new approach.
- Shockwave Tactic: Throw it at your feet to launch yourself upward. As you fly, look down and place a floor and walls to create a new platform above the original fight.
- Rift Tactic: Use the Rift to gain immense height. As you glide, track your opponent and land on a pre-existing structure or build a new one at a much higher elevation.
Advanced Editing Retakes for the Aggressive Player
For players confident in their editing skills, these retakes focus on verticality through editing, not just building.
The Triple Edit Ramp Rush
This is a high-skill, high-reward retake that applies massive pressure.
- Build a ramp facing your opponent.
- Place a floor above the ramp and a cone above that.
- Quickly edit the floor and the cone (e.g., the top-right triangle of the cone).
- Walk through your edits and immediately place another ramp, floor, and cone, repeating the process. Execution Tip: This creates a continuous wave of cover as you advance upward. Practice in Creative mode until the edit placements are muscle memory. It's extremely effective against opponents who are turtling.
The Classic "Scissor" Retake
A classic for a reason, the Scissor is a protected side jump variant.
- Build two walls at a right angle.
- Place a floor and cone on the side you want to move.
- Edit the cone into a ramp.
- Jump, and as you move, place a new wall, floor, and cone to complete the "scissor" motion. Why It Works: It constantly provides cover from two angles and is difficult for an opponent to track predictably.
Situational Retakes and Map-Specific Tips
Adapt your retake choice to your environment and the game's current meta.
Retakes for the Current Meta (Chapter 5 Season 3)
With the map featuring desert areas and the powerful Wastelander vehicle, consider these factors:
- Open Desert Areas (e.g., Redline Rig): Mobility items are king here. Use Flowberries or Nitro Splash to enhance your jump height before starting a build retake, gaining an initial height advantage.
- Dense Urban Areas (e.g., Mount Olympus): The Triple Edit Ramp Rush and Cone Over Wall retakes excel here, as fights are often close-quarters and vertical.
- Against Vehicle Users: If an opponent is using a Wastelander, your best "retake" is often to destroy the vehicle with explosive weapons like the Nitro Gauntlets or Boom Bolt rather than trying to out-build them.
Table: Retake Selection Guide
| Scenario | Recommended Retake | Key Advantage | | :--- | :--- | :--- | | Opponent directly above, spraying | Cone Over Wall Reclaim | Maximum protection, low cost. | | Opponent overbuilding aggressively | Mobility Lunge (Kinetic Blade) | Breaks their rhythm, unexpected angle. | | Low materials, need a reset | Shockwave Grenade | Complete disengage, minimal build cost. | | Opponent is turtling in a box | Triple Edit Ramp Rush | Relentless pressure, forces reactions. | | Open field, need to push height | Protected Side Jump + Flowberry | Balanced cover and height gain. |
Key Takeaways and Final Advice
Mastering high-ground retakes is about building a toolkit and knowing which tool to use for each job. Don't just learn one flashy retake and try to use it in every situation.
- Start with the Fundamentals: Perfect the Cone Over Wall and Protected Side Jump. They are the bread and butter of retakes and are usable in 80% of situations.
- Practice Edit Speed: In a private Creative map like Pandvil's Box Fights or Raider's Mechanics Training Map, spend 10 minutes daily just practicing the edits for advanced retakes like the Triple Edit.
- Watch Your Resources: A successful retake that leaves you with 20 wood is a tactical failure. Always farm materials at the start of a match using your pickaxe on structures in locations like Reckless Railways.
- Stay Adaptable: If your planned retake isn't working—maybe the opponent is breaking your supports too fast—be ready to drop down, break the base, and start the engagement anew. The best players are problem-solvers, not just fast builders.
By integrating these techniques into your gameplay and understanding their strategic applications, you'll not only reclaim the high ground more often but also do so in a way that conserves resources and sets you up for the elimination. Drop into a Creative island, put in the practice, and take control of your battles from the top down.